
I have (rashly) entered the 2wd offroad carpet wars at Maritime so thought I had better build, and start practising with, my Losi TLR22.
The last couple of kits I've built have been Schumachers. They have both been good, high quality, builds so the 22, my very first Losi, has a tough act to follow, let's see how it stacks up.
When I hand over a big wodge of cash for a toy car I like to feel like I am getting some value, decent packaging goes some way towards this. The Losi doesn't disappoint, coming in a nice sleeved box.
Upon opening one is greeted by the familiar sight of a pile of numbered bags. They are easily identified by the numbered headers. A nice surprise is the two sets of wheels that are included, an indoor and outdoor set perhaps?


Down to work then.
Tip: Keep a couple of containers handy. There will be a number of unused parts depending on your build choices, it makes things a little easier to seperate these as you go.
The first job is mounting the servo and side pods to the very cool alloy chassis. My servo of choice here is the low profile Savox 1251. A low profile servo isn't strictly necessary but it does allow for more options with component and weight distribution later on.
Next up is the steering rack and front bulkhead. I had never seen a steering set up like this, the rack uses a sort of sliding arrangement where a block slots into, and slides back and forth within, another slotted block. No bearings required.


This module then bolts to the front end with the front arm pivots and kick up shim. The unusual steering assembly seems nice and smooth.
Tip: Pay attention to your servo spacing, too much or too little and the linkage will foul on the bulkhead. I ended up shaving the back of the ball cup on the servo horn to stop it fouling the case.
Tip: It would be worth making some decisions regarding your layout at this point. Search out some set ups and continue the build with the appropriate parts.

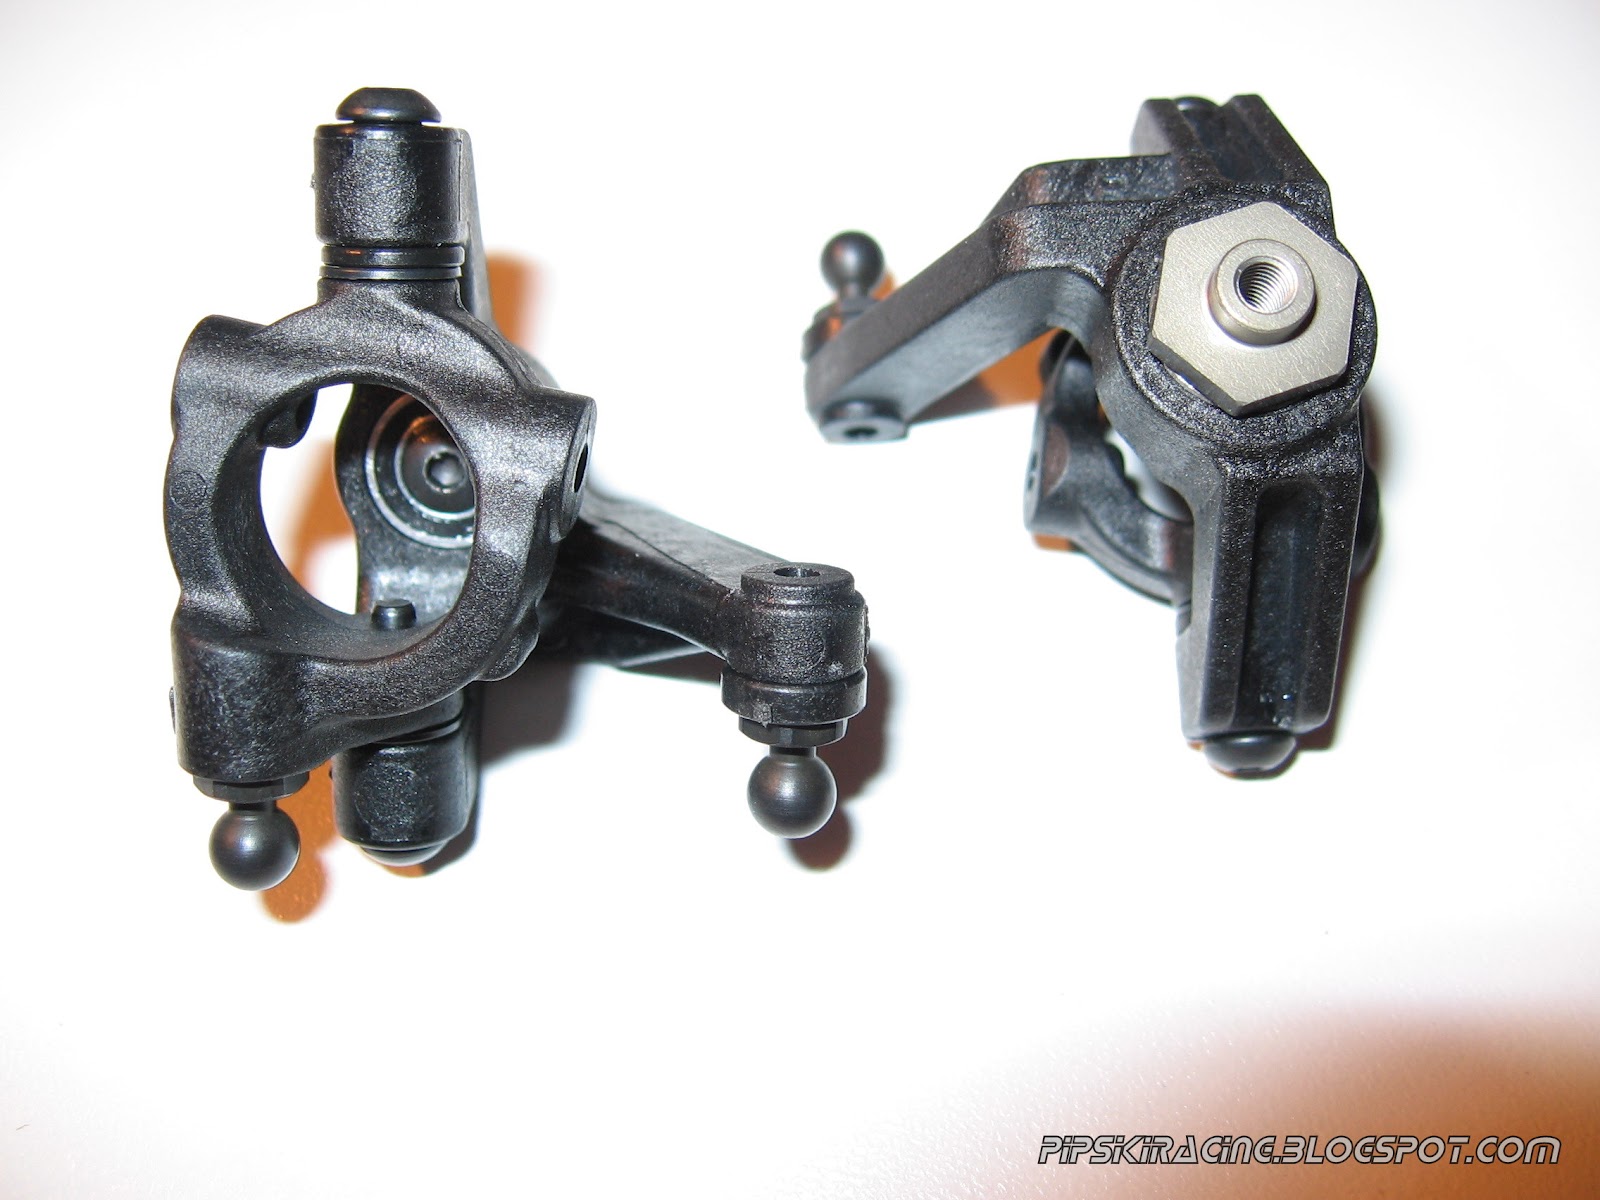
The front hubs went together nicely. The losi uses a hex drive and bolts, rather than nuts, to secure the front wheels.
Tip: The wheel bolts are flat faced so it's worth using a drop of (soft) thead lock on the wheel bolts to prevent them loosening.
The rear drive shafts use decent sized bearings and look sturdy enough. Don't forget to use the black grease supplied when assembling.
Tip: I used some heat shrink over the cv joint, this helps retain the drive pin in the event of a loose grub screw.
I don't think I've ever seen so much choice of outer link postion.


Assemble the sturdy looking turnbuckles to the dimensions given in the manual and the whole front end falls easily into place. Very satisfying.


The rear end of the car isn't quite so straightforward. You will now have to decide if you are building the car in rear or mid motor configuration as, at this stage, the parts for each vary.
I have decided on mid motor as I think it will be better for high grip astro and indoor carpet, surfaces I will be racing on the most.
I have decided on mid motor as I think it will be better for high grip astro and indoor carpet, surfaces I will be racing on the most.
Tip: Pay close attention to the manual and be sure to follow the correct instructions for the configuration you have chosen. If you do this and take your time you will have no problems.
So far so good. I am enjoying the build and am quite impressed at the quality of the kit. The plastics seem to be decent, we will see how they hold up. I am pleased to see the use of alloy in important areas such as the suspension arm mounts, something other manufacturers should certainly take note of! The downside here is that for every rear toe or roll centre change you want to make another £12 option part is required.
I have also noticed that there is an option part for almost eveything. Alloy steering parts and hubs, brass kick up shims, carbon shock towers, titanium turnbuckles and pivot pins.
So loads of bling opportunities for the deep wallets out there!
So loads of bling opportunities for the deep wallets out there!
Time for a cuppa.
I will be back in the shed soon to build the tasty looking shocks, assemble the gearbox and finish bolting this baby together.
Stay tuned Losi lovers.
No comments:
Post a Comment